
In a previous article I introduced the concept of sous vide and how hunters looking to improve the texture and juiciness of their wild game can really benefit from it. While the actual method of sous vide might be very simple, once you start to dive a little deeper into the science behind what happens to the meat while cooking things begin to get a little more complicated.
I used to think that cooking with wild game was just like cooking with their domestic counterparts, except that you cook it for less time. This is essentially true because heat travels at different rates through different kinds of foods. Fat acts as an insulator or barrier of sorts, which slows down the transfer of heat to the center of the meat. Wild game is very lean, which means heat travels much faster, resulting in overcooked meat if you are not very careful. However, this is not the only variable.
I have realized through my experience with sous vide that temperature also plays a crucial role in cooking wild game. For example, 129-131 degrees is the range that you would cook beef at in order to have a medium-rare steak. I have noticed that venison and ducks cooked at the exact same temperature always come out just a little bit closer to medium. For this reason, when cooking venison steak or duck breast using a sous vide, I personally like to subtract a couple of degrees from the suggested temperature in a recipe that was developed for domestic animals.
This concept begins to get a little more complex once you start expanding to tougher cuts of meat, such as a shoulder or roast. Below are brief explanations of the two major factors that affect the final result of your meat when cooking sous vide.
Time
Meat needs to cook long enough to reach internal temperature for pasteurization. The thicker the meat, the longer it needs to make that happen. For red meat that you want to treat like a steak (loin, eye of round, duck breast), estimate a minimum of 30 minutes of cook time for every 1/2” thickness of meat. It matters less about how much it weighs than it does how thick it is.
For instance, half a trussed loin will take the same amount of time as an entire trussed loin because it is the same exact thickness. Another example would be a 2 lb. cut of meat that is long and thin will take far less time than a 2 lb. cut of meat that is short and thick.
If you are choosing to cook a tougher cut, you will want to cook it long enough to denature the protein. The longer something cooks, the more the connective tissue begins to break down. This process happens very slowly. If you choose a large roast that you would like to shred for something like carnitas or pulled barbecue, cutting it into smaller slabs will cut down on time. Depending on size, the time could take anywhere between 12-36 hours.
Temperature
The temperature you choose affects the doneness of meat, moisture and texture. Heat helps break down connective tissue in meat at which time collagen starts to dissolve into gelatin. This reaction happens very slowly at low temps, starting at 120 degrees and the reaction begins to peak between 160-180 degrees.
Also, the hotter you cook, the more juice expels from meat. Because muscular fibers begin to contract and tighten when introduced to heat, moisture begins to squeeze out of the tissue. The rate at which the loss begins to increase is 140 degrees. This water loss can cause a cooked piece of meat to end up tougher. It’s the explanation for why tough cuts of meat are best cooked “low and slow.”
Finally, high-temperature cooking will give your meat more of a stringier texture (good for shredded meat), as opposed to a lower temperature which will give meat a much softer texture (good for game birds).
This all starts to get tricky when cooking something tough that you want to shred because you need to cook it at a high enough heat to denature the protein, but not so hot that you lose all the moisture. Even though the meat is sealed in a bag and the juice isn’t lost, it is still expelled from meat. It’s a balance between getting the right level of temperature for the right amount of time.
One last note to mention regarding temperature is that for food safety reasons, you should never sous vide meat below 130 degrees for longer than 2 1/2 hours.
If you are new to cooking with sous vide and this information seems overwhelming, I recommend using an app or cookbook specifically for sous vide. Find a recipe you like and start there, taking note of the result. Once you get the hang of it, you can start to explore how different temperatures and lengths of time affect the texture and juiciness of wild game.
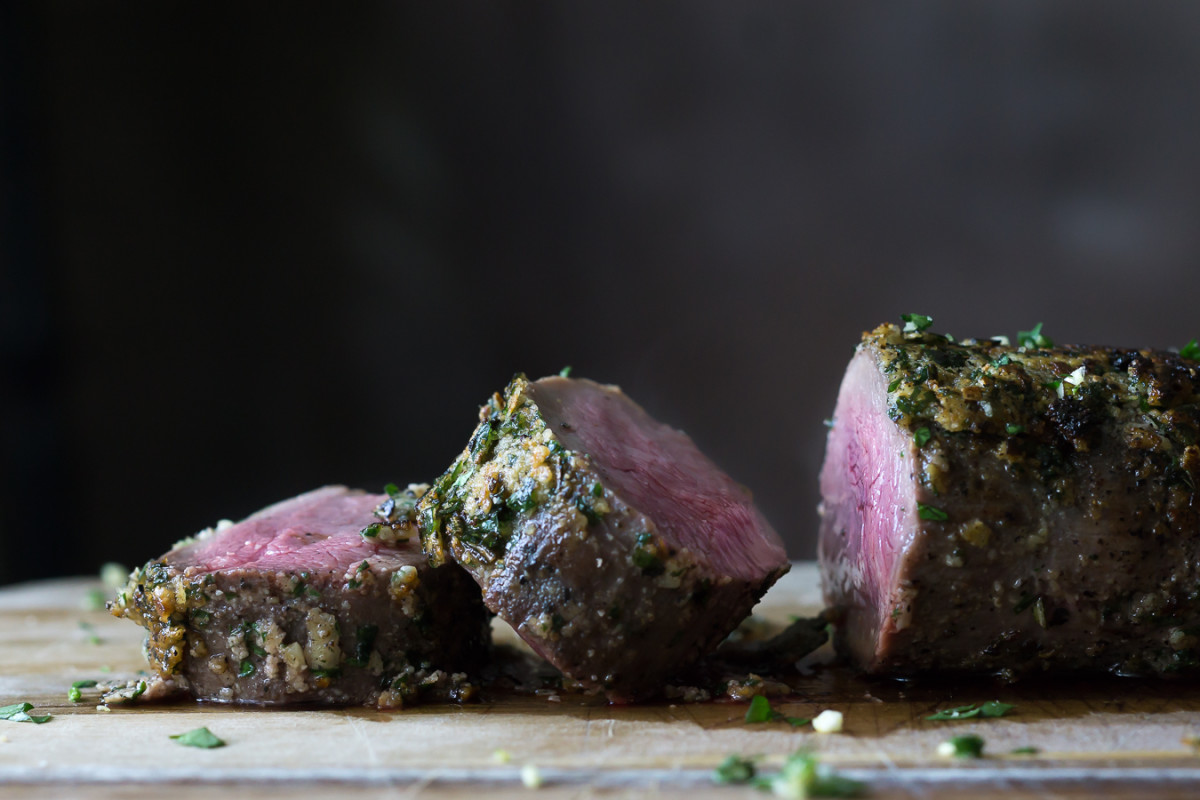
Feature image by Danielle Prewett

Sign In or Create a Free Account
Related
Cooking Techniques
A Beginner’s Guide to Sous Vide for Wild Game, Part 1
Butchering & Processing
How to Clean a Venison Heart
