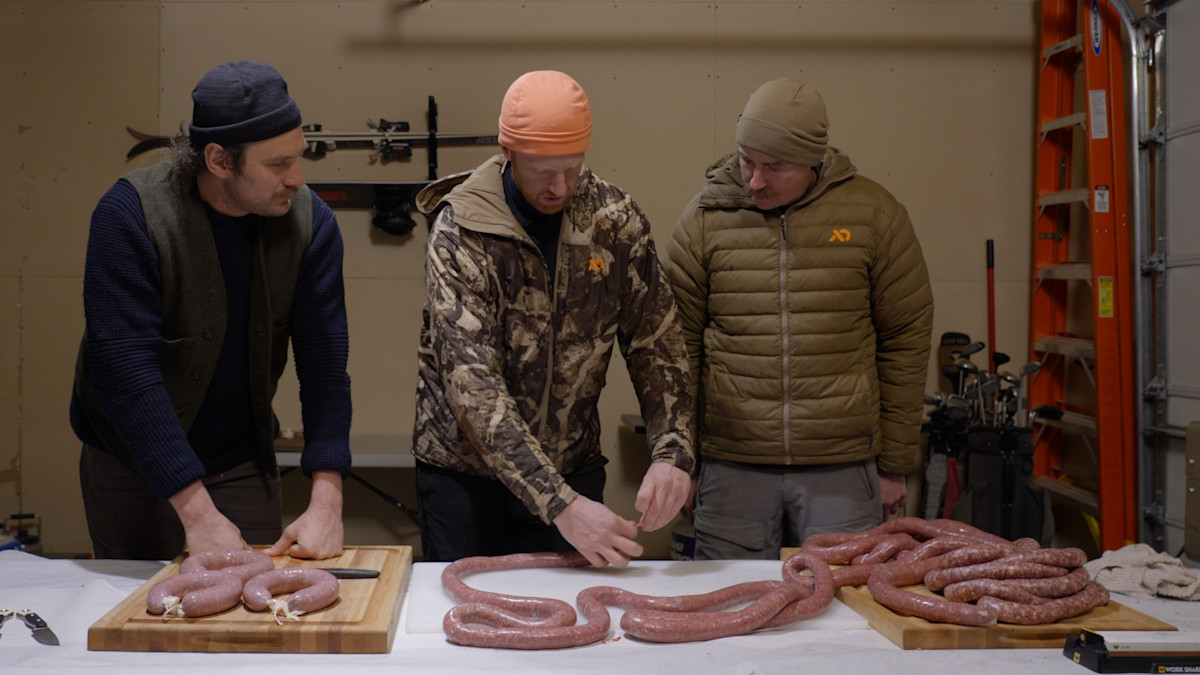
At its most basic, sausage is the simple combination of meat, fat, salt, and casing. But to make a good sausage—one that rivals anything you might find at the butcher shop—the devil is in the details. Here are a few tips to help you avoid some of the most common sausage-making mistakes.
Not Keeping Meat, Fat, and Equipment Cold Enough
The two words that should run through your head the entire time you’re making sausage are “cold” and “clean.” Keeping your meat, fat, and equipment cold will both abate the growth of bacteria and prevent the meat and fat from melting into an unappetizing pink slime.
The easiest way to control the temperature, especially if you’re making sausage in a warm house, is to leave the grinder dissembled and place all metal parts in the freezer or refrigerator until just before grinding. The same goes for the meat and fat. After you’ve cubed everything into one- to two-inch pieces, put them back in the freezer for at least 15 minutes. The fat must be as cold as possible to keep it from melting during grinding. You’ll know your fat is cold enough when it crackles as it comes out of the grinder and has the light, crunchy consistency of Styrofoam packing peanuts.
Over or Under Seasoning
Salt is fundamental to making sausage. Without it, the sausage meat will be bland and mealy. When in doubt, use a ratio of 2% salt to the total weight of the final grind. A small kitchen scale is invaluable when measuring seasonings.
Salt does several things to the ground sausage meat, the first being that it reduces the moisture content of the meat, which in turn increases its flavor. Secondly, meat is composed of tiny bundles of muscle fiber called fibrils, which, when exposed to salt, fray and bind to each other, creating a consistent texture in the sausage. Lastly, salt inhibits bacterial growth and extends shelf-life.
Not Testing Before You Case
Don’t commit to casing the sausage without doing some quality control. To test the seasoning, cook a small amount of the meat as you would the finished sausage; either fry a small patty or wrap a handful of the sausage tightly in plastic wrap (to simulate casing) and poach it in simmering water. Taste your sample and adjust the seasoning as needed.
Not Mixing the Final Grind Long Enough
Spending a few extra minutes mixing the final grind is a crucial step that should not be overlooked. While the initial mix ensures an even distribution of fat and seasoning within the meat, a more extended and vigorous mix is necessary to build a strong bind.
The process is akin to kneading bread dough to develop gluten. As salt begins to act on the meat during mixing, a protein called myosin builds up and creates an adhesive bond that is vital for tight, snappy sausage that will hold its shape when cut. This second mix can be done by hand or in a stand mixer. The easiest way to find out if you’ve mixed long enough is to flatten a ball of sausage into your palm and hold your hand open with your palm facing down. If the sausage sticks to your palm for at least three or four seconds, you’re ready to go.
Choose The Wrong Casing
While the wrong size casing won’t necessarily ruin your sausage, it can make the stuffing process slightly miserable. Most natural casings are made of animal intestines, usually hog or sheep. Sheep casings are best for finer grinds and for sausages that are traditionally thin, such as snack sticks or breakfast sausage. However, these casings can be difficult to stuff because of their small size and tendency to rupture easily. Hog casings, on the other hand, are a bit more durable, and their size makes them relatively easy to stuff, even with a coarsely ground sausage. In all cases, having the correct size horn on your stuffer is essential for easy sausage stuffing.
How the Sausage is Made
_Want more sausage-making tips? Watch the recent Cal in the Field Episode: That’s Good Sausage with Brad Leone and Brian Merkel. And check out our favorite wild game sausage recipes right here. _


