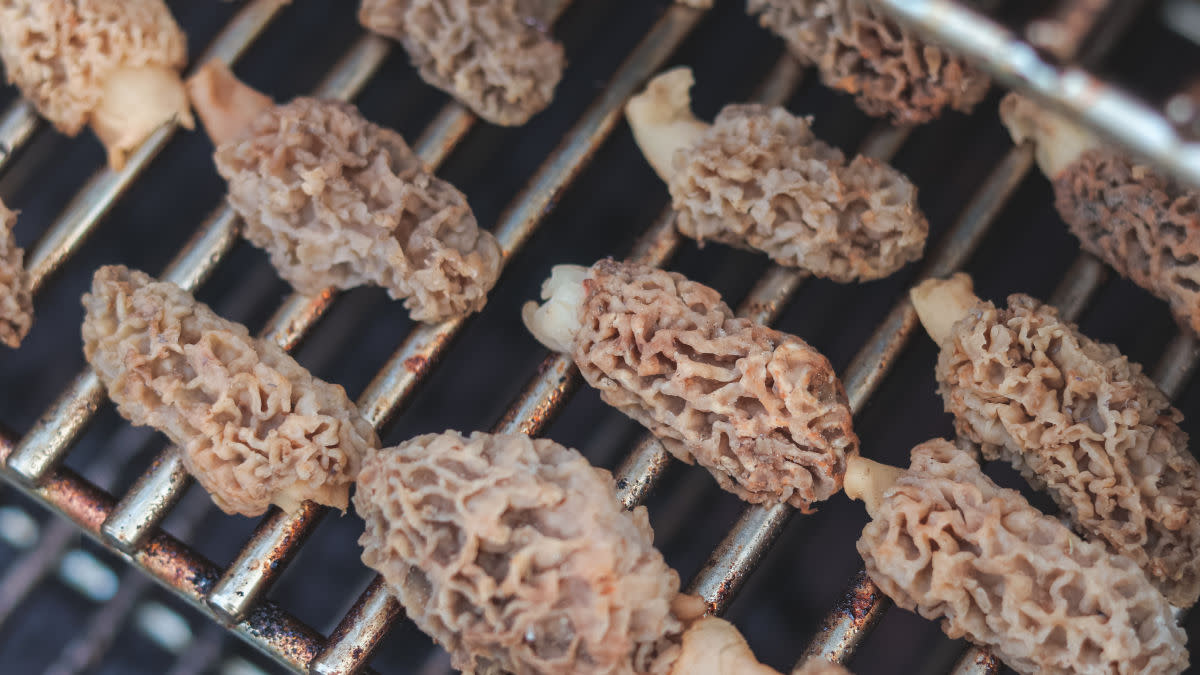
Morel mushroom hunters disagree on plenty, like pinching stems, ideal soil temps, and the “pop.” But the differences aren’t limited to foraging. Likely the biggest debate in foraging culture centers on how to clean morel mushrooms.
Mushroom enthusiasts often fall into one of three camps: quick rinse, short soak, and long soak. To better understand where most foragers stand, I conducted a poll in a morel mushroom hunting group on Facebook. After collating hundreds of responses, here are the results: 19% just rinse, 46% rinse with a short soak, and 35% rinse with a long soak.
So, who’s right? What’s the correct way to clean morels?
How to Store Morels Before and After Cleaning
We may not agree on cleaning, but virtually all morel enthusiasts agree that if you don’t take the proper steps before and after washing, it won’t matter what method you use.
Morel mushrooms need air. Don’t stow them in a zippered compartment of your backpack. Don’t let them sit in the sun in a hot vehicle. Don’t store them in a Ziploc bag, even in your fridge. Keep them cool and dry, and give them space to breathe from the time you pick a morel until the moment it hits the sauté pan.
Many foragers prefer carrying their harvest in a mesh bag. This allows the mushrooms to breathe, and in theory, helps spread trillions of microscopic spores as you walk the woods. After you clean them, keep them in a paper bag or on a drying sheet in your fridge. Airtight containers, like Tupperware dishes, are the bane of morels. If you don’t have circulation, you’ll be left with sad, gooey mushrooms that never get to realize their potential delicacy.
Regardless of cleaning method, always cut the mushrooms in half vertically. This makes cleaning and cooking easier. After halving the morels, trim off any spots that are especially dirty or look like they’ve been claimed by bugs.
The Rinse Morel Cleaning Method
Although 81% of the foragers I polled soak morels, there’s a vocal minority that doesn’t like drowning their mushrooms. They’re not wrong, either. Part of what makes morels so easy to work with in the kitchen is their firm, yet delicate flesh. The longer you expose a morel to water, the more they lose that distinct quality.
Sam Stukel, who’s picked enough pounds of morels to warrant custom alterations to his hunting bag so that he can properly carry his bounty, is a minimal morel cleaner. As someone who prefers eating them as fresh as possible, he keeps the process quick.
“They go into a colander and get a quick blast from a sink spray nozzle,” Stukel said. “I’ll shake the colander a couple times and then quickly blast them again. A few more bounces in the colander gets most of the water off, and a little blotting with a paper towel finishes the job. After that, they get cooked.”
For foragers fortunate enough to pick morels free of sand, dirt, or bugs, this is the way to go. But if you mushroom hunt after rain or in sandier soil, this method might leave you with some gritty bites or a little extra protein.
The Rinse and Short Soak Morel Cleaning Method
The majority of those surveyed said they prefer rinsing morels, followed by a quick bath. For some that means five minutes; for others it’s a half hour. The short soak helps accomplish a few things, like drowning out bugs and ensuring water reaches every cavity of a morel’s brainy cap.
Jenna Rozelle, who educates people about foraging through her Wild Food blog and volunteer work at Backcountry Hunters & Anglers, uses a modified version of the short soak. She starts the process by gently shaking small batches of the mushrooms in a paper bag to get off dry debris. After a minute of jostling the morels, she sets them aside and dumps out the bag before shaking the next batch.
About 30 minutes before Rozelle is ready to cook, she’ll swish them around in a tub of water, using her hand to agitate the mushrooms. After a couple minutes, she’ll dump the water, refill the container, and add salt. This time she lets them soak for 20 minutes before removing the mushrooms and rinsing them in a colander.
Once cleaned, she’ll wrap them in paper towels and rotate the mushrooms to ensure drying. After they’re thoroughly dry, which takes about 5 to 10 minutes, the morels are ready for cooking. Rozelle’s approach requires a lot of handling, so she says it’s imperative to be gentle throughout the process.
“When I’m shaking the mushrooms or agitating them in water, I do it at about a 3 on a vigor scale of 1-10. It’s like how much power I’d use to toss vegetable in a wok or set the hook on a small brook trout.”
The Rinse and Long Soak Morel Cleaning Method
The long soak is the most controversial of the cleaning methods. You won’t find a lot of reputable sources promoting it, instead saying that it dilutes flavor and changes texture. Still, many morel hunters think it has its place. I’m one of them.
As someone who’s foraged dozens of pounds of mushrooms from islands, I’m well aware of how the honeycomb shape of morels does an awesome job of housing sand and bugs. In desperate situations where it seems like no amount of washing will free the mushrooms of creepy crawlies and grit, I’ve soaked them overnight in the fridge.
Doing so gets your mushrooms cleaner, but that cleanliness comes at a cost. Although the long soak helps get rid of bugs and grit, that nutty flavor and firm flesh dissipates with every sodden hour. The rinse and long soak should only be used as a last-ditch effort to salvage otherwise inedible mushrooms.
So, which method is the correct method? Any of them. Whatever it takes to get morels clean with the least amount of handling, washing, and soaking is best. More often than not, I’m implementing a process similar to Rozelle, but some mushrooms warrant more or less attention. Just like there’s more than one way to gut a deer or fillet a fish, foragers should embrace the spectrum of cleaning methods, and select the one that’s most appropriate to the caps you found that day.


