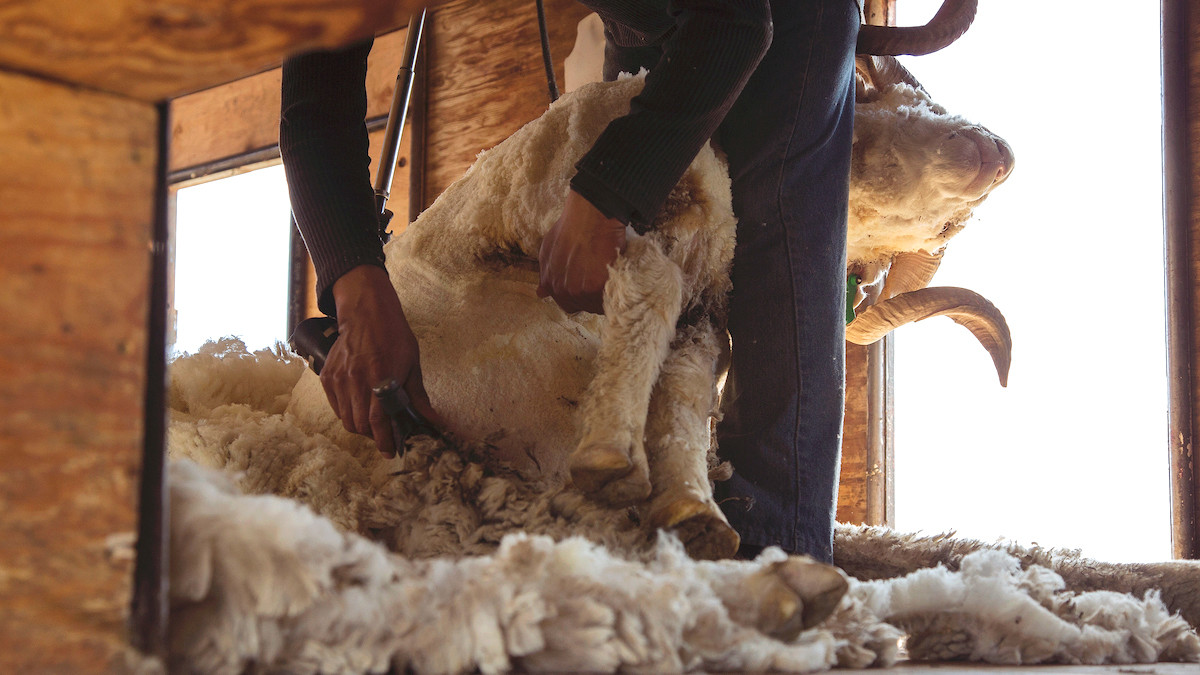
When many of us think of sheep wool, we think of yarn and knitting projects. And while spinning wool into yarn to then make into cozy clothes and accessories is certainly an excellent use for your sheep fleeces, it’s not the only project to consider come shearing time. Below you’ll find the basic steps for processing your wool post-shearing, as well as a few different ideas to get you started on how to use all that gorgeous wool.
Cleaning The Fleece
For just about any wool project, you’ll want to start with a clean fleece. This means not only paying attention to the shearing process (shear carefully, avoid getting bedding or debris in the wool, and avoid second cuts), but also skirting the wool well once the shearing is finished and with most projects, and washing and drying the wool.
Skirting is the process of separating the usable and less-usable parts of the fleece. Typically, the wool around the neck, legs, and belly of a sheep hold more debris and is of overall lower quality. Once you have the fleece laid out, you can use shears or scissors to cut away the parts of the fleece that won’t suit the project you’re planning. Be sure to cut away any wool covered in manure or excess lanolin, as well as any areas that are excessively dirty or filled with debris. Other than those areas, the amount you remove will depend on your project. Spinning and felting projects require higher quality fleece than wool intended for insulation or stuffing.
Once you’ve skirted your wool, your next step is generally to wash it. There are a lot of good resources out there for how to wash wool, and it’s important to follow the steps carefully. Wool felts easily and when washed incorrectly can be rendered unusable for many projects. So proceed cautiously on this step. After washing, lay wool out on screens, racks, or towels to air-dry.
Once your wool is clean and dry, you’re ready for projects! Plastic bags are a fine option for short-term storage of a fleece, but plastic bins with lids, paper, or cotton bags make better long-term storage, as they allow a little airflow which helps prevent felting. For best results, store fleeces in a dry environment free of extreme temperature fluctuations.
Yarn
Almost nothing beats a cozy wool sweater or winter hat except one made of wool from your very own sheep fleece. Wool clothing is warm, insulating, and holds heat even when wet, so it’s no wonder that spinning fleece into yarn remains one of the most popular uses for wool in a homestead setting.
Keep in mind though, hand processing and spinning a fleece into yarn is a labor-intensive process. There are many resources out there for starting the journey of processing and spinning your own yarn, from articles to books to entire courses. If you’re interested in the most basic setup, a set of hand carders and a drop spindle will get you started. Once you learn the basics, there’s a whole world of natural fiber processing out there, covering everything from the nuance of different types of fleeces to natural dying.
Felting
If you’re looking for a simpler method for processing wool into beautiful and useful crafts, felting might be the option for you. Felting is essentially the process of tangling, interweaving, or condensing wool fibers to make them into a sturdy material, felt. Similar to carding and spinning wool, there are a lot of resources out there for learning how to felt.
On a basic level, there are two categories of felting: dry felting and wet felting. Within wet felting, there’s nuno felting, cobweb felting, lattice felting, 3D felting, and resist felting. Each involves a somewhat different technique with a different goal in mind, but the overall thrust is the same. Felting involves fewer steps to get from wool to finished product than spinning wool into yarn, but it can still be used to make gorgeous and functional wool products. Some examples of crafts you can make with felting techniques include hats and scarves, socks and mittens, clothes, toys, baskets, dryer balls, bags, and more.
Stuffing
If you have more wool on your hands than you feel like making into craft projects, clean dry wool is an excellent resource for stuffing projects like pillows, quilts, coverlets, and even futons or mattresses. Wool is considered “hypoallergenic” and for several good reasons. Many people develop allergies from dust mites that live in bedding, but the natural fibers in wool process moisture in such a way that it creates an inhospitable environment for bacteria, mold, and dust mites.
The weight of wool fibers also means bedding made of wool is less prone to absorbing outside particles, which can also cut down on allergenic effects. Beyond being hypoallergenic, wool supports natural thermoregulation (it keeps you cool in the heat and warm in the cold) and is free of chemicals—you know where your sheep have been!
If you’re filling a pillow and concerned about the wool losing its loft, consider carding the wool first before using it as stuffing. Carding helps align the fibers and reduces empty space in your stuffing, where there’s potential for compaction. Stuffing with more wool than you think you’ll need also reduces a pillow’s potential to flatten over time.
Insulation
As any sheep will tell you, wool makes a great insulator, and there are a bunch of companies out there already jumping on this concept. Wool as an all-natural, environmentally friendly, non-toxic alternative to conventional building insulation options is becoming increasingly popular, and for good reason.
Wool’s R-value, which is the measurement of an insulating material’s resistance to conductive heat flow, is naturally high and stacks up well next to other popular insulation choices today such as rockwool and fiberglass. Unlike those other options, wool from your sheep is free of chemicals and other potentially cancer-causing additives. It also naturally regulates humidity and resists mold growth. It’s flame resistant due both to its high nitrogen and water content and its high ignition temperature. To top it all off, I’ve read claims that wool absorbs VOCs (volatile organic compounds), thus when used as insulation can help purify the air in a house. The miracle insulation, right? The only downside is, depending on your building project, it might take a lot of wool to insulate a whole building. But if you have a lot of sheep, know someone who has a lot of sheep, or can stock up over the seasons, this is a great way to use your fleeces!
Garden Mulch and Fertilizer
Skirting, which we covered at the beginning of the article, is the process of separating the desirable from non-desirable wool. But the good news is even those parts you cut away can go to good use! Dung tags (wool covered in manure), sweat locks (wool saturated in suit and lanolin), and any other bits you might have removed in skirting makes a great addition to your garden and requires little extra work on your part.
Mulching your garden beds can be incredibly beneficial, depending on your climate, plants, and the time of year. Mulching keeps your soil warmer in cold weather, cool in hot weather, keeps the soil moist by preventing evaporation, and helps suppress weeds. And your leftover skirted wool is a totally natural, nontoxic, and free form of mulch that works great for your garden. Depending on how much manure is in your skirted bits, it might even transfer a little nitrogen to your plants as well.
To use skirted wool as a mulch, just clear the area around your plants and spread the wool bits in a mat around an inch thick, covering the soil entirely. We’ve only recently started mulching with wool leftovers on our farm and so far have only done so on our fruit trees, but I’ve read several studies that say wool mulching can support not only soil health but increase productivity and yield in many veggies.
Feature image via Maggie Urbigkit Photography.


