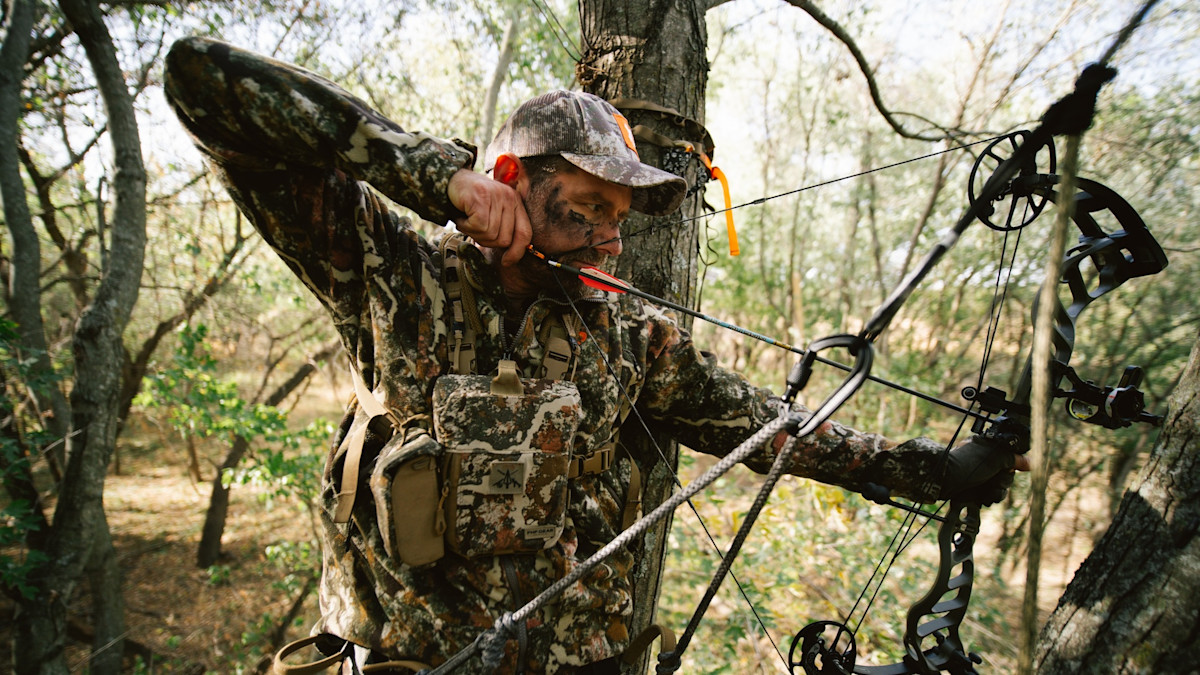
As bowhunters, we strive to be ethical, lethal, and humane. To accomplish this, our bows need to be tuned to ensure accurate and repeatable arrow flight. Unfortunately, this tends to be an intimidating hurdle for novice bowhunters. When you begin your tuning journey, you may become frustrated, view bow tuning as a form of black magic, or accuse the bow of being a lemon. Fortunately, a little tinkering and learning basic tuning principles will go a long way.
Selecting Arrow Spine & Tuning Arrows to Your Bow
Without the proper arrow spine, achieving a perfect tune becomes increasingly difficult. As a starting point, an arrow manufacturer’s spine chart will get you awfully close. Be sure to choose a spine chart that includes point weight as a variable. Increasing the point weight of your arrow, including the weight of the insert, will weaken the spine of your arrow. Conversely, the shorter you cut your arrow shaft, the stiffer the arrow becomes. To achieve a fine tune, an arrow saw can help you zero in on the optimal arrow length for your particular bow.
Locating Center Shot
Center shot is the geometric center point of the bow, where your arrow rest and string nocking point are mathematically centered in relation to the cams. The string nocking point is usually the middle point of the bowstring, measured between the top and bottom cam. As for the arrow rest center shot, it’s as simple as adjusting your arrow rest left and right so that your arrow shaft is the specified distance away from the bow’s riser. This measurement is usually 13/16-inch; however, some bow manufacturers have differing specs. Do a quick internet search for your specific make and model.
Keep in mind that setting your bow up for center shot is purely a starting point. You may need to adjust your arrow rest and/or nocking point, little by little, until you achieve a tune. Learning to tie in nocking points will help you keep track of micro-adjustments to your nocking point.
Paper Tuning
Most archers know of and have attempted paper tuning. But, for many bowhunters, achieving a paper tune is also the end of the tuning process. It’s best to think of paper tuning as step two of the bow-tuning process. Achieving a bullet hole through paper doesn’t assure your bow is perfectly tuned because a paper tune only indicates arrow flight at one distance and one point in time. Therefore, at longer distances and with broadheads attached, there is likely fine tuning that needs to take place.
Because this article is intended to blueprint the overall bow tuning process, and paper tuning could be the subject of an entire article itself, do an internet search to learn more about the paper tuning process. Gold Tip has a handy chart that has long been my preferred reference for paper tuning guidance. In a nutshell, to achieve a paper tune, you’ll micro-adjust your arrow rest and nocking point to achieve stable arrow flight. Adjusting draw weight, cutting arrow shafts, adding point weight, and cam tuning may also be required.
Walk-Back Tuning
Walk-back tuning helps an archer learn more about arrow flight at varying distances, whereas paper tuning only indicates arrow flight at a fixed distance. Walk-back tuning is simple, tape or draw a bold vertical line on your archery target. This bold line will be your aiming point. You’re not concerned about a vertical aiming point, rather, you’re only concerned about whether or not your arrow is impacting the target along the vertical tape line.
To eliminate the variable of your sight’s 3rd axis, use your 20-yard pin for each shot. Start by taking one shot at 20 yards. Hopefully, the arrow impacted the vertical line. Next, walk back to 30 yards and take another shot using your 20-yard pin. Hopefully, the arrow also impacted the tape line, below your 20-yard arrow. Repeat this process at 40, 50, and 60 yards.
If your arrows are vertically in line, with each arrow impacting the target below the previous shot, your arrow rest is pretty darn centered. However, if your arrows hit the tape on your 20-yard shot, but each subsequent shot starts exponentially creeping left or right of the tape, adjustments to your arrow rest are required. If your arrow consistently impacts right of the line, move your arrow rest left and vice versa.
Broadhead Tuning
We put in all this extra effort with bowhunting in mind. Achieving perfect broadhead flight should be the ultimate goal. Therefore, conducting broadhead tuning is the final test. Broadhead tuning is simply making micro-adjustments to your arrow rest and/or nocking point until your broadheads and field points each impact the same spot consistently.
This is where choosing an arrow rest with an ultra-fine micro-adjustment feature is important. Do the same test at varying yardages, with the appropriate pin this time, to see if your broadheads consistently group with field points. If your broadhead impacts to the right of your field point, adjust your arrow rest to the right. If your broadhead impacts high, raise your nocking point.
Advanced Tuning
At the end of the day, not all tuning can be done without a bow press. For bows that won’t tune via the methods above, a bow press becomes necessary. Access to a bow press allows you to decompress your limbs, cables, and string, allowing you to fine tune draw length, cam timing, yoke tune, and adjust/shim your cams laterally left and right.
If you’re unfamiliar with these tuning techniques, a trip to your local bow shop is in order. The good news is that these tuning techniques aren’t always necessary, and often a combination of basic tuning methods will have you shooting broadheads like never before.


